From the project
PNG vs JPG: 6 simple lessons you can learn from our mistakes
Page load times are important. Amazon insiders estimate that every 100 ms increase in latency costs Amazon roughly %1 of profit.
Simply put: visitors hate slow sites, so don't make them wait.
Unfortunately, many web sites, including this one up until recently, are slowed down by inefficiently encoded images. Note that there are many other components to page load times and if you're looking to optimize your web site you should analyze and understand all of them. But today we're just going to focus on the images.
Our mistake was very simple: we used PNG for everything. Of course, we realized other encoding formats such as JPG existed, we just didn't have a good awareness of when you should use one and not the other. Bzzzzt.
PNG is a lossless compression format: that means it compresses images without losing any quality. But it's not economical to encode most images in a lossless format such as PNG, when the loss of quality using JPG is barely perceptible to the human eye and a JPG might only take up a quarter of the space.
For example previously the front page weighed 701KB and was visibly slow to load. A large component of that weight were the PNG appliance icons. Batch converting the icons to JPG shaved 400KB off, a 60% reduction!
Gotcha! JPG doesn't support transparency (but don't waste your time trying to optimize PNGs): since we initially depended on icon transparency in the web design we resisted making the change and tried optimizing the PNGs first. We tried every tool we could find. Lossless optimizers such as pngcrush and optipng only yielded a 3-4% decrease in filesize. Lossy compressors such as pngnq slashed the file size dramatically by reducing the color depth but the decrease in image quality was often unacceptable. Some icons (e.g., Drupal) looked OK, but others looked terrible.
A few examples. In the first row are originals, second row reduced to 256 colors, third row 128, fourth row 64:















Bottom line: PNG optimization is a poor substitute for JPG. We concluded that it was better to modify the web design and compromise on that than accept a 3X increase in load time for the front page.
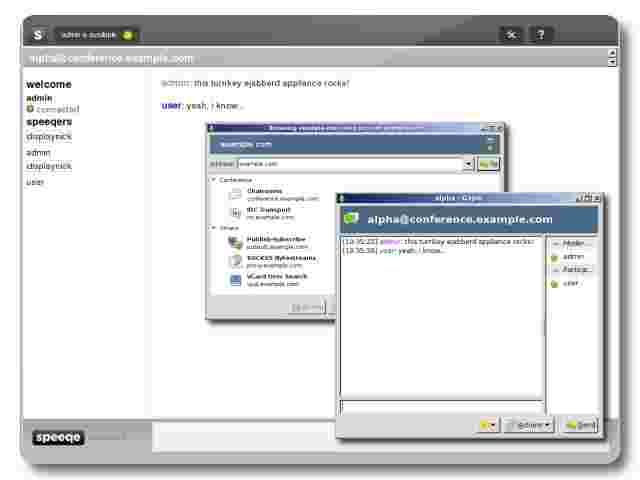
Don't compromise on resolution, compromise on compression: after we finished with the front page we turned our attention to the screenshots section. To compensate for the size of PNG encoded screenshots we had previously reduced the resolution of the image but that's a bad move because it results in dramatic reduction in readability of the screenshot.
For the same size we discovered you could encode a much higher resolution JPG image at high quality such that the user would barely notice any compression artifacts. Overall this would provide a much nicer, more usable screenshot without increasing bandwidth requirements.
Long story short, resolution is very important to the perception of quality and it's one of the last things you want to give up when you are reducing bandwidth requirements.
Keep PNG "masters" for future image manipulation: I can't stress this enough. JPG is a lossy format, and every time you re-encode a JPG the quality deteriorates. After a few passes compression artifacts pile up and can become easily visible to the human eye.

For this reason it's best to always keep around masters of your images in PNG format in case you want to perform edits.
When PNG is better than JPG and vice versa: sometimes you just don't want to compress an image with JPG. As I mentioned earlier, if you really need transparency JPG is out. But also we've discovered small and simple images may actually compress better using PNG than JPG. It seems to depend on how much is "going on" in the image. PNG works best for vector type graphics with hard lines. JPG works best for anything with complex gradients (e.g., a photo).
Use imagemagick to batch convert PNG to JPG: manually re-encoding PNG images into JPG is boring, especially if you're converting a large number of images.
ImageMagick is the swiss-army knife of command line image manipulation tools. Using it saved us a ton of time:
apt-get install imagemagick
convert -flatten -background white file.png file.jpg
Convert an entire directory:
for f in *.png; do
    n=$(echo $f|sed 's/.png/.jpg/');
    convert -flatten -background white $f $n
done
Was this post helpful to you? Share your experience, post a comment!