
Ready-to-use server
Elgg
Social networking engine
- Debian based
- Automatic security updates
- Free and open source
Elgg screenshots
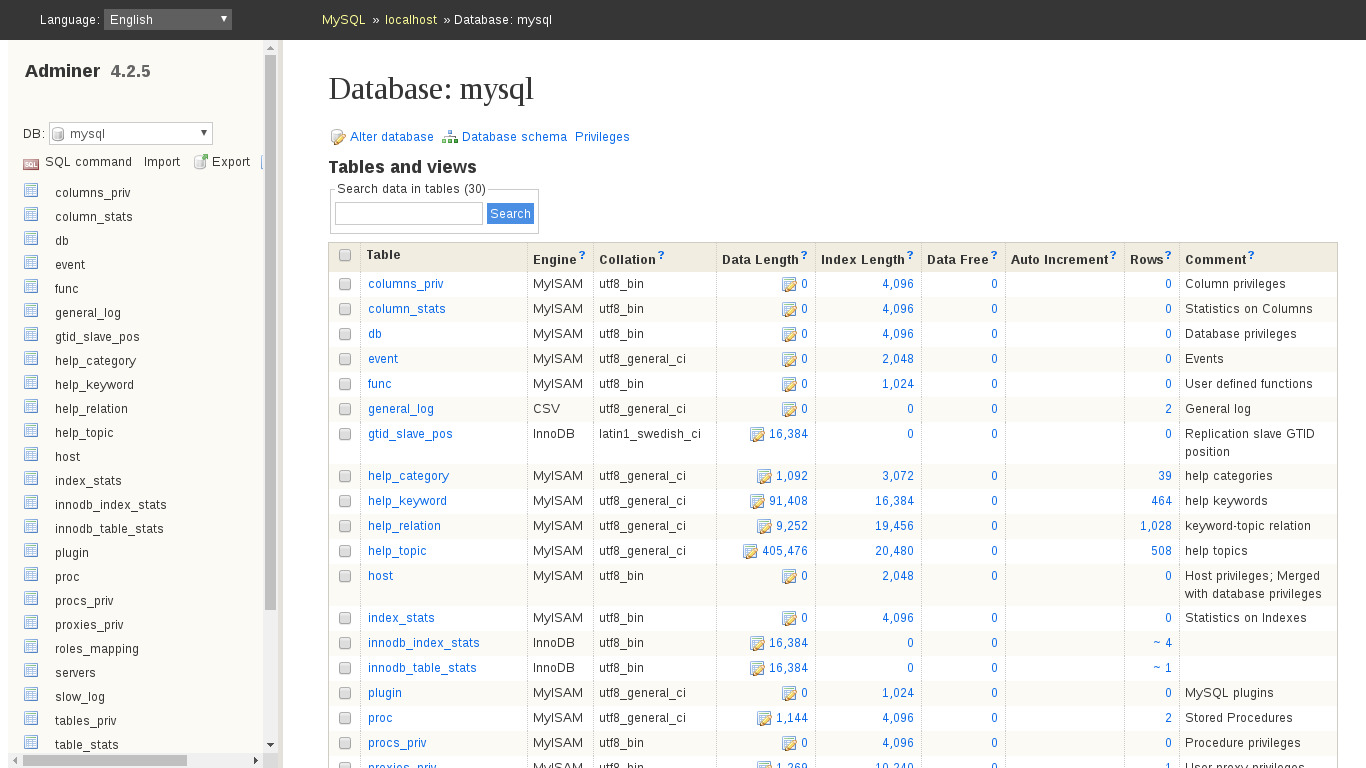
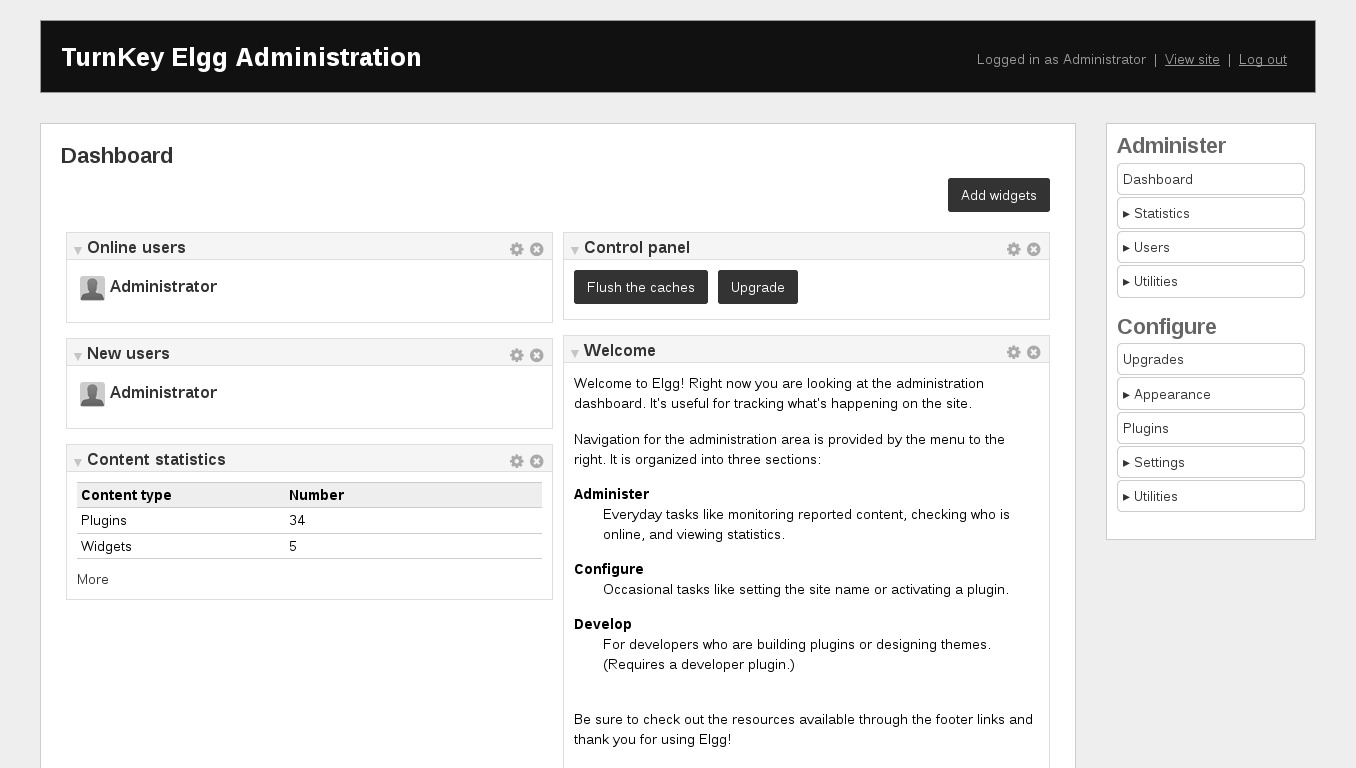
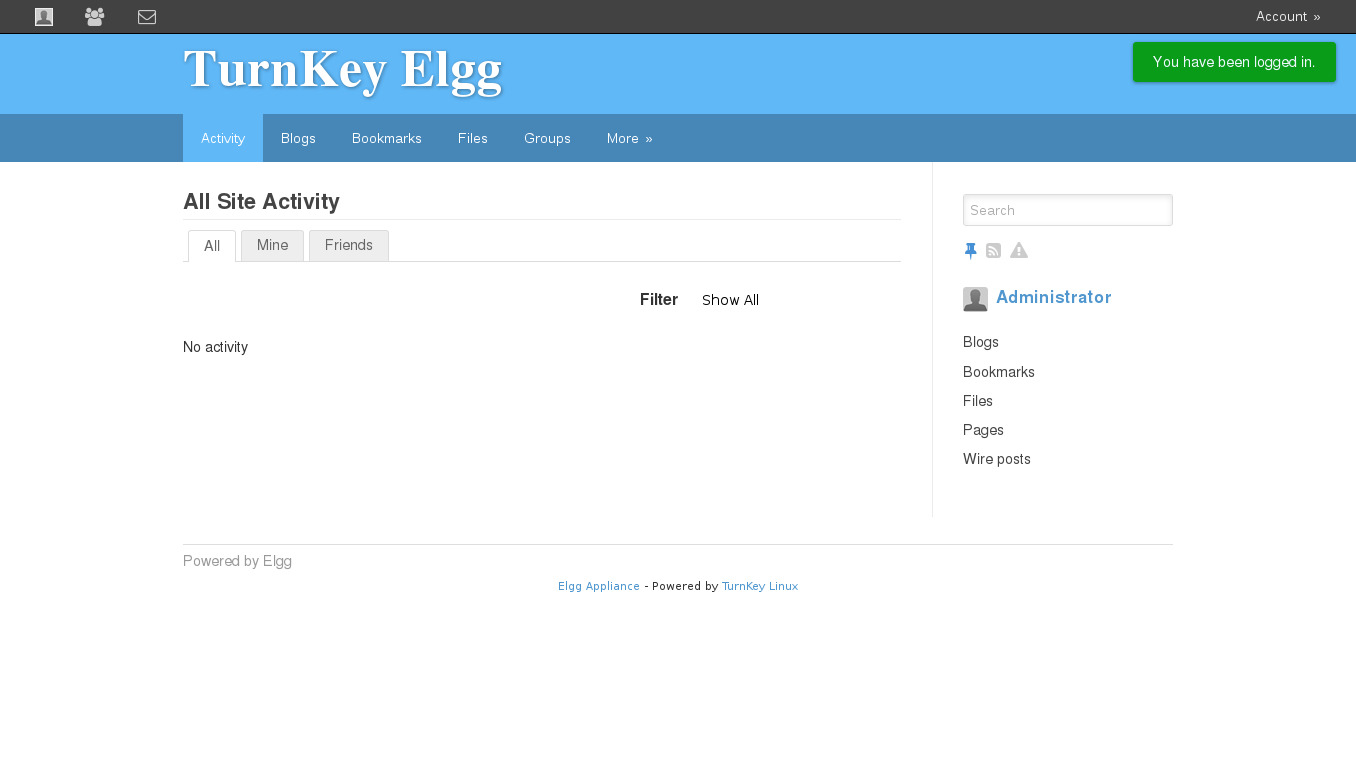
Elgg is an award-winning social networking engine, delivering the building blocks that enable businesses, schools, universities and associations to create their own fully-featured social networks and applications. It offers blogging, microblogging, file sharing, networking, groups and a number of other features.
This appliance includes all the standard features in TurnKey Core, and on top of that:
Elgg configurations:
Elgg 7.0.5 is installed from the official complete release archive to /var/www/elgg. The upstream-published SHA-256 digest is verified during the build.
SSL support out of the box.
- Adminer administration frontend for MySQL (listening on port
12322 - uses SSL).
Postfix MTA (bound to localhost) to allow sending of email (e.g., password recovery).
Webmin modules for configuring Apache2, PHP, MySQL and Postfix.
Credentials (passwords set at first boot)
Webmin, SSH, MySQL: username root
Adminer: username adminer
Elgg: username admin
Updating Elgg
Notes:
Elgg will not be automatically updated and must be updated manually as per the instructions below.
AWS Marketplace users will need to prefix most commands with 'sudo'.
If you have any problems please contact TurnKey support:
paying users can contact TurnKey support via the TurnKey Hub or support@turnkeylinux.org
free users can access community support via the TurnKey forums
To update, first create a TKLBAM or equivalent backup of the database, /var/www/elgg-data and application files. Review the release notes and the official Elgg upgrade documentation, then select a compatible Elgg 7 complete release. Record its asset URL and published SHA-256 digest from the official release before downloading it. For example, after setting version and sha256 to those reviewed values:
version=7.0.5
sha256=a369a5b97c22e31998d7ed3e107c410efbcd1d8f3a3edacea4b64af8a3027c10
archive=/tmp/elgg-$version.zip
staging=/var/www/elgg-$version
curl --fail --location \
    https://github.com/Elgg/Elgg/releases/download/$version/elgg-$version.zip \
    --output $archive
printf '%s  %s\n' "$sha256" "$archive" | sha256sum --check -
unzip -q $archive -d /tmp/elgg-release
mv /tmp/elgg-release/elgg-$version $staging
cp -a /var/www/elgg/elgg-config/settings.php \
    $staging/elgg-config/settings.php
Copy each site-specific plugin and reapply any recorded application customizations to $staging before the replacement. The database and /var/www/elgg-data remain in place. Then replace the application tree and run Elgg's database upgrade:
systemctl stop apache2
mv /var/www/elgg /var/www/elgg.previous
mv $staging /var/www/elgg
chown -R root:root /var/www/elgg
chown -R www-data:www-data /var/www/elgg-data
chmod 644 /var/www/elgg/elgg-config/settings.php
systemctl start apache2
turnkey-elgg-cli upgrade async -v
Keep /var/www/elgg.previous until the site has been checked. The complete release is the application package, so it must be replaced as a unit rather than updated by requiring elgg/elgg from its own Composer project.
Run from browser
V 19.0
V 18.0
GitHub
Usage details & Logging in for Administration
No default passwords: For security reasons there are no default passwords. All passwords are set at system initialization time.
Ignore SSL browser warning: browsers don't like self-signed SSL certificates, but this is the only kind that can be generated automatically without paying a commercial Certificate Authority.
Username for elgg:
Login as username admin
Web - point your browser at either:
- http://12.34.56.789/ - not encrypted so no browser warning
- https://12.34.56.789/ - encrypted with self-signed SSL certificate
Username for database administration:
Login as MySQL username root at
- https://12.34.56.789:12322/ - Adminer database management web app
- MySQL command line tool:
$ mysql --user root --password
Enter password:
Welcome to the MySQL monitor.  Commands end with ; or \g.
Type 'help;' or '\h' for help. Type '\c' to clear the current input statement.

mysql>
Username for OS system administration:
Login as root except on AWS marketplace which uses username admin.
- Point your browser to:
- https://12.34.56.789:12321/ - System control panel
- https://12.34.56.789:12320/ - Web based command line terminal
- Login with SSH client:
ssh root@12.34.56.789
Special case for AWS marketplace:
ssh admin@12.34.56.789
* Replace 12.34.56.789 with a valid IP or hostname.