
Ready-to-use server
VPN solution built with OpenVPN® Community Edition
Open Source VPN solution
- Debian based
- Automatic security updates
- Free and open source
VPN solution built with OpenVPN® Community Edition screenshots

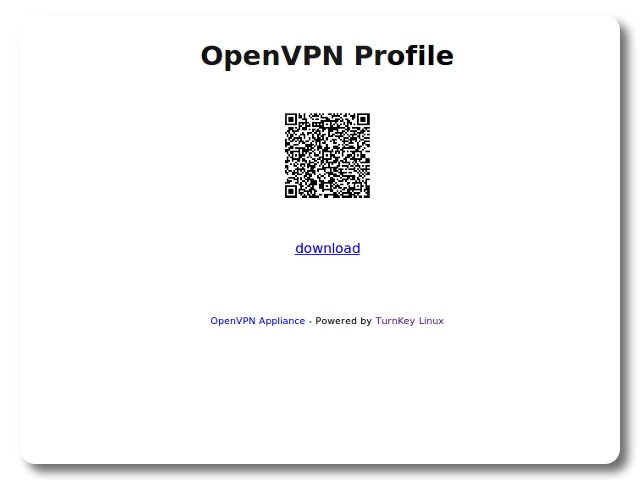
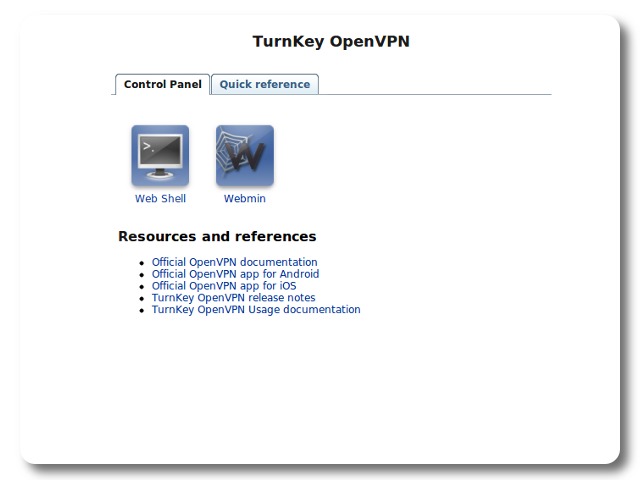
OpenVPN® Community Edition provides a full-featured open source SSL/TLS Virtual Private Network (VPN). The TurnKey Linux VPN software appliance leverages the open source 'openvpn-server', 'openvpn-client' and 'easy-rsa' software (developed by OpenVPN® Inc.) to support "site-to-site" or "gateway" access. "Site-to-site" can link 2 otherwise unconnected LANs; suitable for multi-site enterprise networks or linkage to an Amazon VPC. "Gateway" configuration can secure traffic across public and/or insecure wifi connections and/or provide a secure solution for remote work scenarios.
Run from browser
V 18.1
V 17.1
GitHub
This appliance includes all the standard features in TurnKey Core, and on top of that:
- OpenVPN® configurations:
- Initialization hooks to configure common OpenVPN® deployments such as "site-to-site" server or client and gateway profiles.
- All profiles support SSL/TLS certificates for authentication and key exchange.
- Server and gateway deployments include a convenience script to add clients, generating all required keys and certificates, as well as a unified ovpn profile for clients to easily connect to the VPN.
- Expiring obfuscated HTTPS urls can be created for clients to download their profiles (especially useful with mobile devices using a QR code scanner).
- The server profile supports a private subnet configuration, enabling clients to reach servers behind the OpenVPN® server.
- The gateway profile configures connecting clients to tunnel all their traffic through the VPN.
- When adding clients in a server or gateway deployment, an optional parameter can be given to enable computers on a subnet behind the client to connect to the VPN.
- For added security, OpenVPN® is configured to drop privilages, run in a chroot jail dedicated to CRL, and uses tls-auth for HMAC signature verification protecting againsts DoS attacks, port flooding, port scanning and buffer overflow vulnerabilities in the SSL/TLS implementation.
See the Usage documentation for further details, including Amazon VPC notes and cloudformation template.
Note: OpenVPN® is a registered trademark of OpenVPN® Inc. Neither TurnKey Linux nor this software appliance are affiliated with or endorsed by OpenVPN® Inc.
Potential issues caused by timezone mismatch
Some VPN client applications expect certificate timestamps to be in local time. However, by default, TurnKey servers use UTC time. In some timezones, that can lead to the creation of certificates, which according to local time, are not yet valid. Under these circumstance, connection will fail.
To avoid that, please set the timezone for your TurnKey OpenVPN server prior to further configuration. To do that via the commandline:
dpkg-reconfigure tzdata
For further info re setting timezone, please see this TurnKey Blog post.
Usage details & Logging in for Administration
No default passwords: For security reasons there are no default passwords. All passwords are set at system initialization time.
Ignore SSL browser warning: browsers don't like self-signed SSL certificates, but this is the only kind that can be generated automatically. If you have a domain configured, then via Confconsole Advanced menu, you can generate free Let's Encypt SSL/TLS certificates.
Web - point your browser at either:
- http://12.34.56.789/ - not encrypted so no browser warning
- https://12.34.56.789/ - encrypted with self-signed SSL certificate
Username for OS system administration:
Login as root except on AWS marketplace which uses username admin.
- Point your browser to:
- https://12.34.56.789:12321/ - System control panel
- https://12.34.56.789:12320/ - Web based command line terminal
- Login with SSH client:
ssh root@12.34.56.789
Special case for AWS marketplace:
ssh admin@12.34.56.789
* Replace 12.34.56.789 with a valid IP or hostname.