You are here
How to build a TurnKey appliance ISO from source using TKLDev
I originally wrote this as a blog post, but I added it here with contents links for convenience. This has also been updated since the original blog post.
Contents
TKLDev setup
Create a VM
I suggest that you install TKLDev to a virtual machine. I am assuming that you will use something like VirtualBox or a VMware product. As I am most familiar with VBox I will use their terminology. VMware products should all work fine though.
If you install from the VM (OVA) build your VM will automatically be allocated resources. The default resources are a bare minimum so adjust them as appropriate for a better experience.
Recommended VM specs & settings:
- Most appliances will build fine with less.
- 2-5% of appliance may require up to 2x RAM.
- More storage may be needed to build multiple appliances without removing product.iso each time.
vRAM: 1024MB (more is better)
vCPU cores: 2 (more is better)
vHDD: 10GB min (more is better)
OS type: x64 Debian (any 64 bit Linux should work)
Networking: Bridged (see the docs. for more info about this)
Note: You may need to select 'PAE' in VBox settings; I am not sure of the VMware equivalent.
Download
Download the latest VM (OVA) or ISO from the TKLDev appliance page
Install to VM
This is step-by-step instructions on the TurnKey Install procedure. Unfortunately there are a couple of screenshots missing but you should get the idea. The VM (OVA) build it is slightly different as it is already "pre-installed". OVA users can skip straight to step 8.
01) 'Install to Harddisk': <Enter>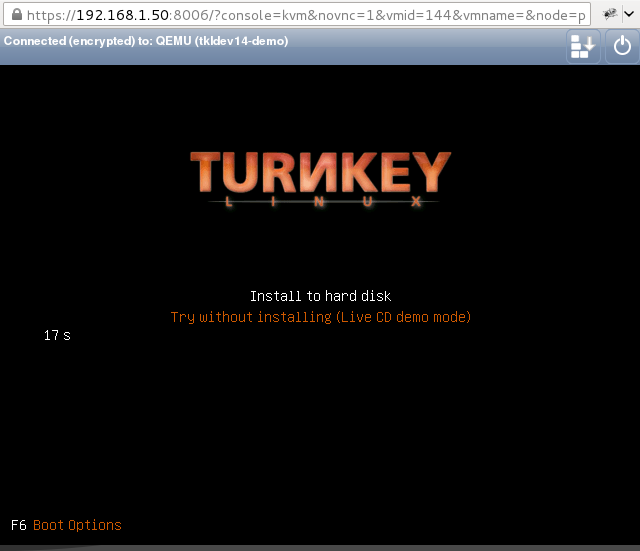
02) 'Ok': <Enter> (or )<Tab> to move between options; <Enter> to select)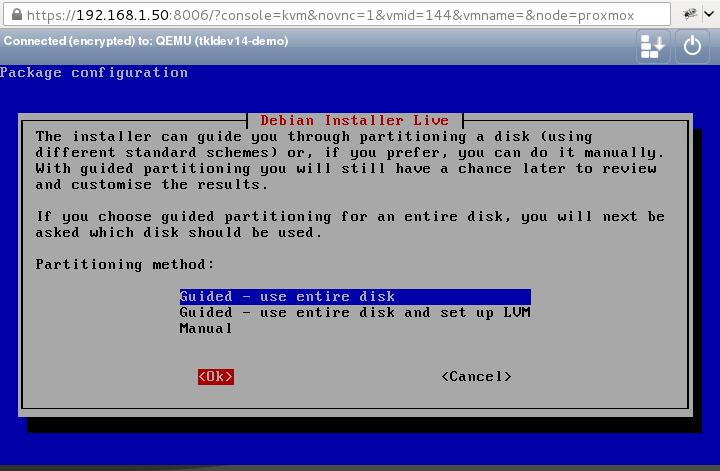
03) 'Yes' (<Tab> to move between options; <Enter> to select)
04) Wait while it copies data...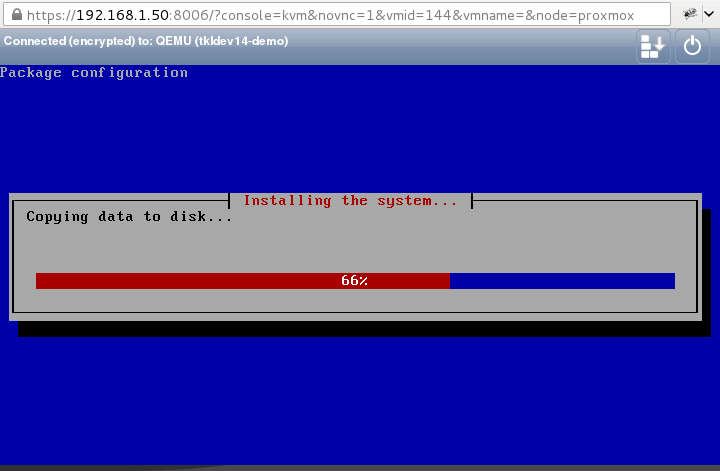
05) 'Yes' (<Tab> to move between options; <Enter> to select) screenshot missing
06) 'Yes' (<Tab> to move between options; <Enter> to select) screenshot missing
07) BUG: On occasion the system may not complete the reboot automatically (it may get stuck at 'Reached target Shutdown.'). If that happens you will need to manually restart the VM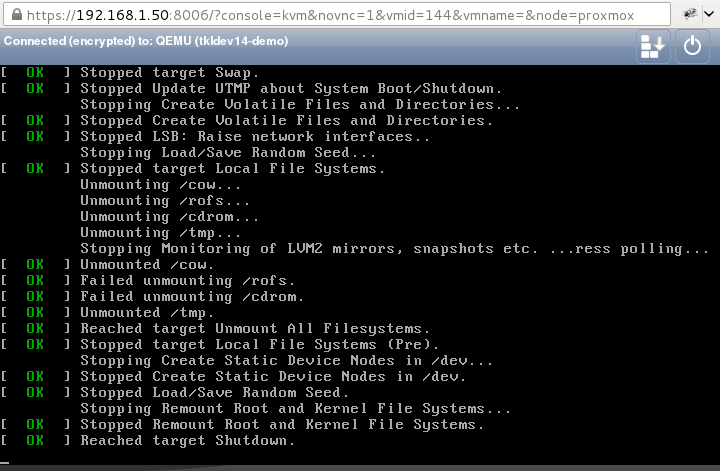
08) Allow to boot then enter your desired 'root' (Linux admin) user password; <Enter>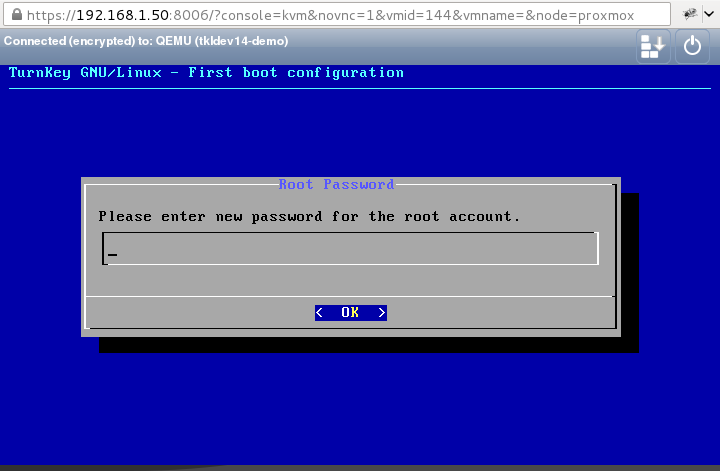
09) Wait while it sets itself up (this will take a little while)...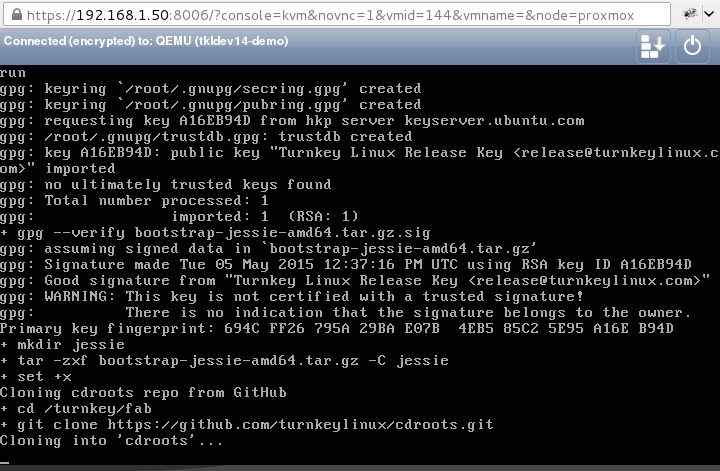
10) 'Skip' (<Tab> to move between options; <Enter> to select)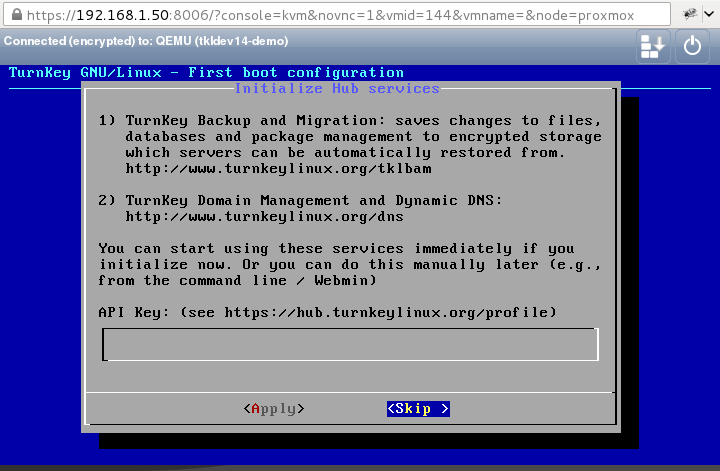
11) 'Install' (<Enter>)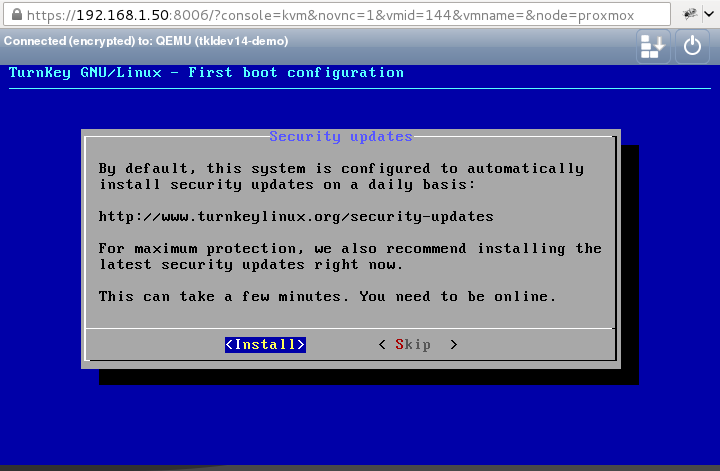
Working with TKLDev
Connecting to TKLDev VM
I highly recommend that you use an SSH session to connect to the VM. You also have the option of using the VM window, but IMO it is much better to just use an SSH session. Besides as a Linux user, I just much prefer a native terminal window that just works how I expect it to...
Linux and Mac
On Linux and Mac I recommend using the ssh command (provided by OpenSSH). I'm not sure about Mac but I expect that most Linuxes (Linui?) would have it installed by default.
open your terminal emulator of choice and connect like this:
ssh root@<ip-address>
It will probably ask if you wish to add the ECDSA key fingerprint (which you can). Then enter your password and hit <Enter>. So for me a first session looks like this:
E.g for me it would be:
# ssh root@192.168.1.143
The authenticity of host '192.168.1.143 (192.168.1.143)' can't be established.
ECDSA key fingerprint is ef:e4:65:dc:b0:a5:21:23:2d:c6:f4:81:3b:ea:1c:28.
Are you sure you want to continue connecting (yes/no)? yes
Warning: Permanently added '192.168.1.143' (ECDSA) to the list of known hosts.
root@192.168.1.143's password:
Windows
You'll need something like PuTTY to connect to your server. I'm not sure on exact setting OTTOMH but connect to <ip-address> on port 22. Then username 'root' and password you set.
Note: Unlike Windows, Linux does not display any characters when you input your password, so don't think that there is something wrong when it looks like noting is happening when you type in your password.
Build your first ISO
For demonstration (and to double check everything works against a known good target) we will build the 'Core' appliance (this is what all the others are built on).
Change directory to /turnkey/fab/products:
cd products
Clone the 'Core' appliance build code:
git clone https://github.com/turnkeylinux-apps/core.git
Enter the core directory:
cd core
Make the ISO:
make
When that is finished it should have produced an ISO called 'product.iso'. Check to see with 'ls':
ls build
I suggest that you rename it now. This is what I would use so that it produces a timestamped filename in the /turnkey/fab/products directory:
mv build/product.iso ../$(basename $(pwd))_$(date --utc +%Y-%m-%d_%H-%MUTC).iso
Assuming everything has gone how it should, this should produce a file similar to this (different date & time):
/turnkey/fab/products/core_2015-05-22_07-51UTC.iso
You can now exit the shell environment.
Get the ISO out of your TKLDev VM
The easiest way to get the ISO out is to connect to your TKLDev VM via SFTP.
For GUI lovers I recommend Filezilla (a great open source cross platform FTP client). For those with a terminal preference, you'll probably want sftp or scp, but you probably know that already! :)
Regardless, any app that supports SFTP or SCP should be fine (most FTP clients these days should support SFTP). Note: you need SFTP; not plain FTP, not FTPS.
Connect to your VM (using IP and 'root' user & password). You will need to specify SFTP and/or port 22 (it will depend on your client; Filezilla is happy with either or both).
Then navigate to /turnkey/fab/products/. Your appliance, <appliance-name-&-datestamp>.iso should be there, then just download it...
Build another ISO
Essentially the process is the same as building the Core appliance above. The only real difference is that you clone a different git repo into /turnkey/fab/products. You can find all the repos on GitHub here or each appliance page has a link to the repo on it next to "TKLDEV SOURCE:". E.g. on the LAMP appliance page there is a link to it's GitHub repo. As a general rule the repo urls will be https://github.com/turnkeylinux-apps/<appliance-name>.git.
So to build the LAMP appliance:
cd products
git clone https://github.com/turnkeylinux-apps/lamp.git
cd lamp
make
Testing your ISO
To test your ISO just install it to a new VM as you did with TKLDev itself (as per "Install to VM" instructions above).
Any bugs you experience, please let us know. Our Issue Tracker is the ideal place, or if you're not sure (if it's a bug or a PEBKAC error) just post below.
If a build fails
As we are heavily in development mode, there is a chance that a build will fail. Failing builds can be caused by a number of reasons. One may be that the code is broken (either needs update or a new bug has been introduced due to insufficient testing). Another may be your networking setup and/or internet connection. Currently TKLDev requires a solid live internet connection. Sometimes (if it's internet related) simply re-running make will resolve the issue.
If you are unlucky enough to have a build fail, then please let us know (especially if you retry and it continually fails). You can post below, start a new thread or lodge an issue on our tracker. Ideally it's great if you can post the stacktrace (the last ~20-30 lines +/- of what is logged to the screen should be fine). That way we can get a feel for what might be causing the error without needing to try to reproduce it straight away.
If you retried the build (by rerunning make) and just get the same error, then perhaps try cleaning up the build files in the repo before you try a third time.
Also if you plan to build another appliance, a failed build can sometimes interfere with it. So I suggest that you get in the habit of cleaning up failed builds. If you are developing (i.e. want to try to fix the code and help us out) then there are better ways to clean up, but I'll leave that for another blog post...
The easiest way to clean up a broken build is to run:
make clean
If for some reason that too fails then I suggest rebooting and try again. To reboot from the commandline:
reboot
Tips
Keep common up to date
While each appliance has it's own individual build code (in it's own repository), there is also significant build code that is shared between appliances. E.g. the majority of the appliances are built on top of our LAMP appliance. Having to maintain all that code separately and individually seems a bit silly, so we combine as much shared code as possible into a repo called common.
The common repo is auto set up in TKLDev v14.0 (you had to either manually install the script to do it, or manually clone it yourself in v13.0). Regardless it is a clone of the TurnKey GitHub common repo. This means that unless you update it, it is frozen in time at the point you set up your TKLDev server. Don't worry though, it's easy to update.
Under normal circumstance, common is not changed very often. However currently we are doing some heavy development so it is a good idea to make sure that you have an up to date version of common. Checking common for an update is often a good idea if you have a broken build.
So to update common, use this simple process:
cd common
git pull
The first line should take you to /turnkey/fab/common and the second line should download any changes from GitHub and merge them with the existing code.
Tab completion
<Tab> completion is enabled in TKLDev to save you some typing!
Moving around the filesystem
TKLDev has some preset helper paths too so moving around the filesystem is quicker and easier. E.g.:
cd products
will take you to /turnkey/fab/products no matter where you are. And
cd core
will take you to /turnkey/fab/products/core
Building multiple appliances
Only one appliance can be built at a time in TKLDev. If you want to build multiple ISOs at the same time, you will need multiple TKLDev VMs. If you are only discovering this now, then in your failed appliances, run
make clean
Known Bug: Intermittent issues rebooting after install (should be fixed)
This note is historical and shouldn't occur with the current release. However, we'll leave this here, just in case. There was a bug where, particularly after installing; appliances running in a VM would hang at 'Reached target Shutdown.' rather than shutting down/rebooting cleanly. On the off chance that this happens to you, simply force a "power off" or "reboot"/"reset". So long as the appliance is displaying 'Reached target Shutdown.' then this is completely safe and won't cause any corruption.